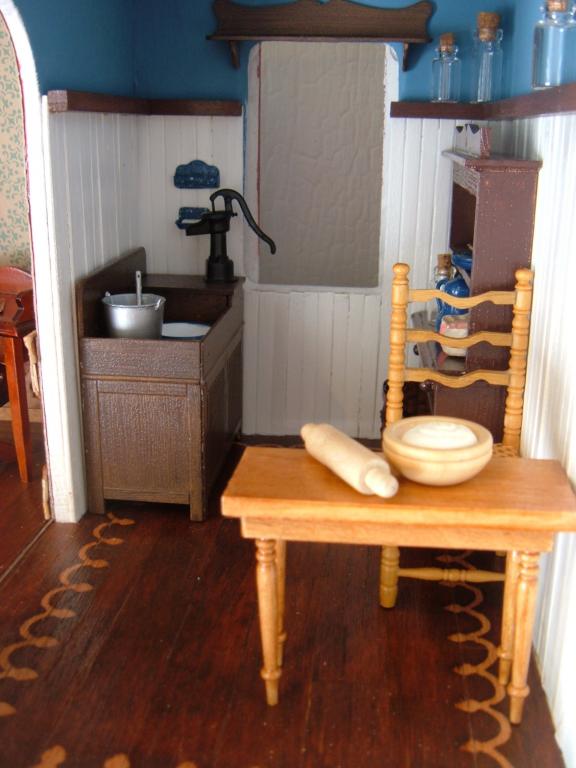
I adore wood floors, even the mini kind! Whether stained, painted, parquet, or rustic, I think they make a dollhouse seem lifelike and warm. Below is the tiny kitchen floor in a house I no longer have. In the staining process, I did a sort of reverse stencil on the floor. I masked off the design around the edges and then stained. I then removed the stencil and sealed it. When I sealed it with Modge Podge it blended just the right amount of stain onto the masked area to tint it slightly. Happy accident!
 Next is a very ugly room in that same early house. I only show it here so that you can see that the flooring is cut with 45 degree angles in the corners for a different parquet-like effect. Two tones of stains were also used (although it's difficult to see).
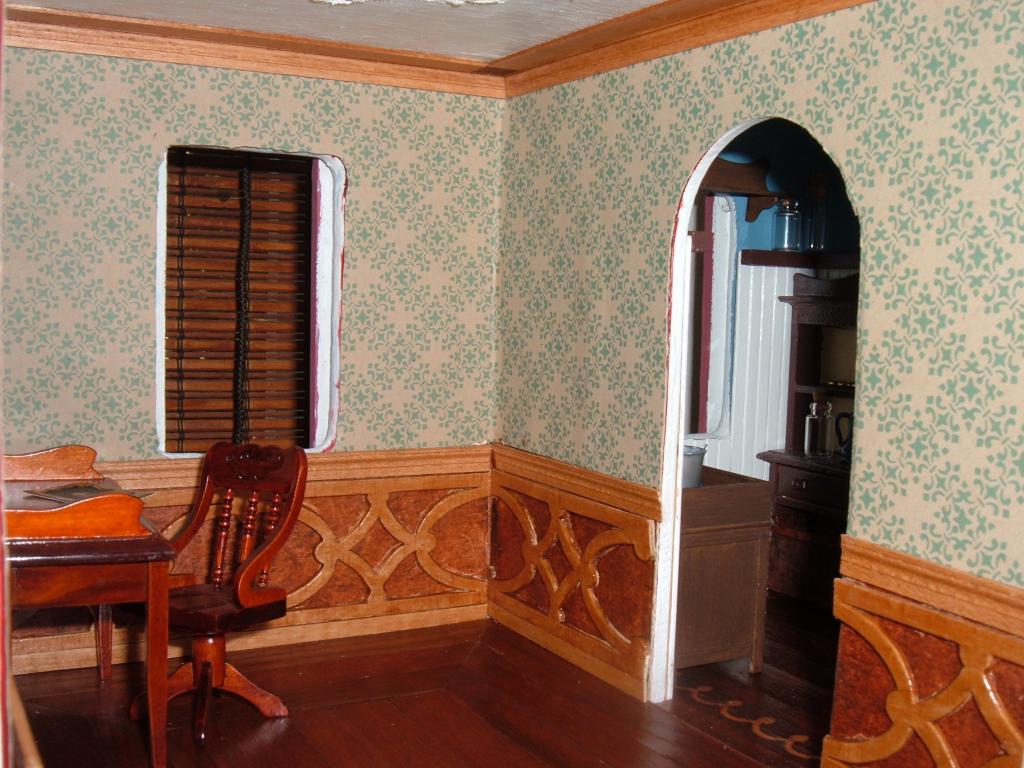
Next is a mahogany stained floor in my Orchid with narrow planks to fit the scale of this tiny house. It was the first wood flooring I tried and I loved how it turned out.
.jpg) Here in my Orange Blossom, you see not only wood floors, but also plank walls. All of my houses have used the exact same trick that I'm about to explain...
Here in my Orange Blossom, you see not only wood floors, but also plank walls. All of my houses have used the exact same trick that I'm about to explain... Each was created using veneer tape like you see below! For someone who was mostly working with scissors, it was approachable and easy! I found it in our local big brand home improvement store. It is originally for finishing the edges of plywood but mini-people always find new ways to use things, don't we? :)
 So, I got out my handy wood veneer tape (the birch kind) and started... ironing! Yes, this wonderful stuff already has glue on the back and irons right on. It's probably the last time I used my iron for any good purpose LOL! All you need is a pair of scissors to cut it to length. If you want it to be more narrow than the 3/4 inch width it comes in, just cut it with an craft knife. If you need to fix the placement after putting it down, just warm it again, move it and iron in the correct location. In the picture below you can see it in process.
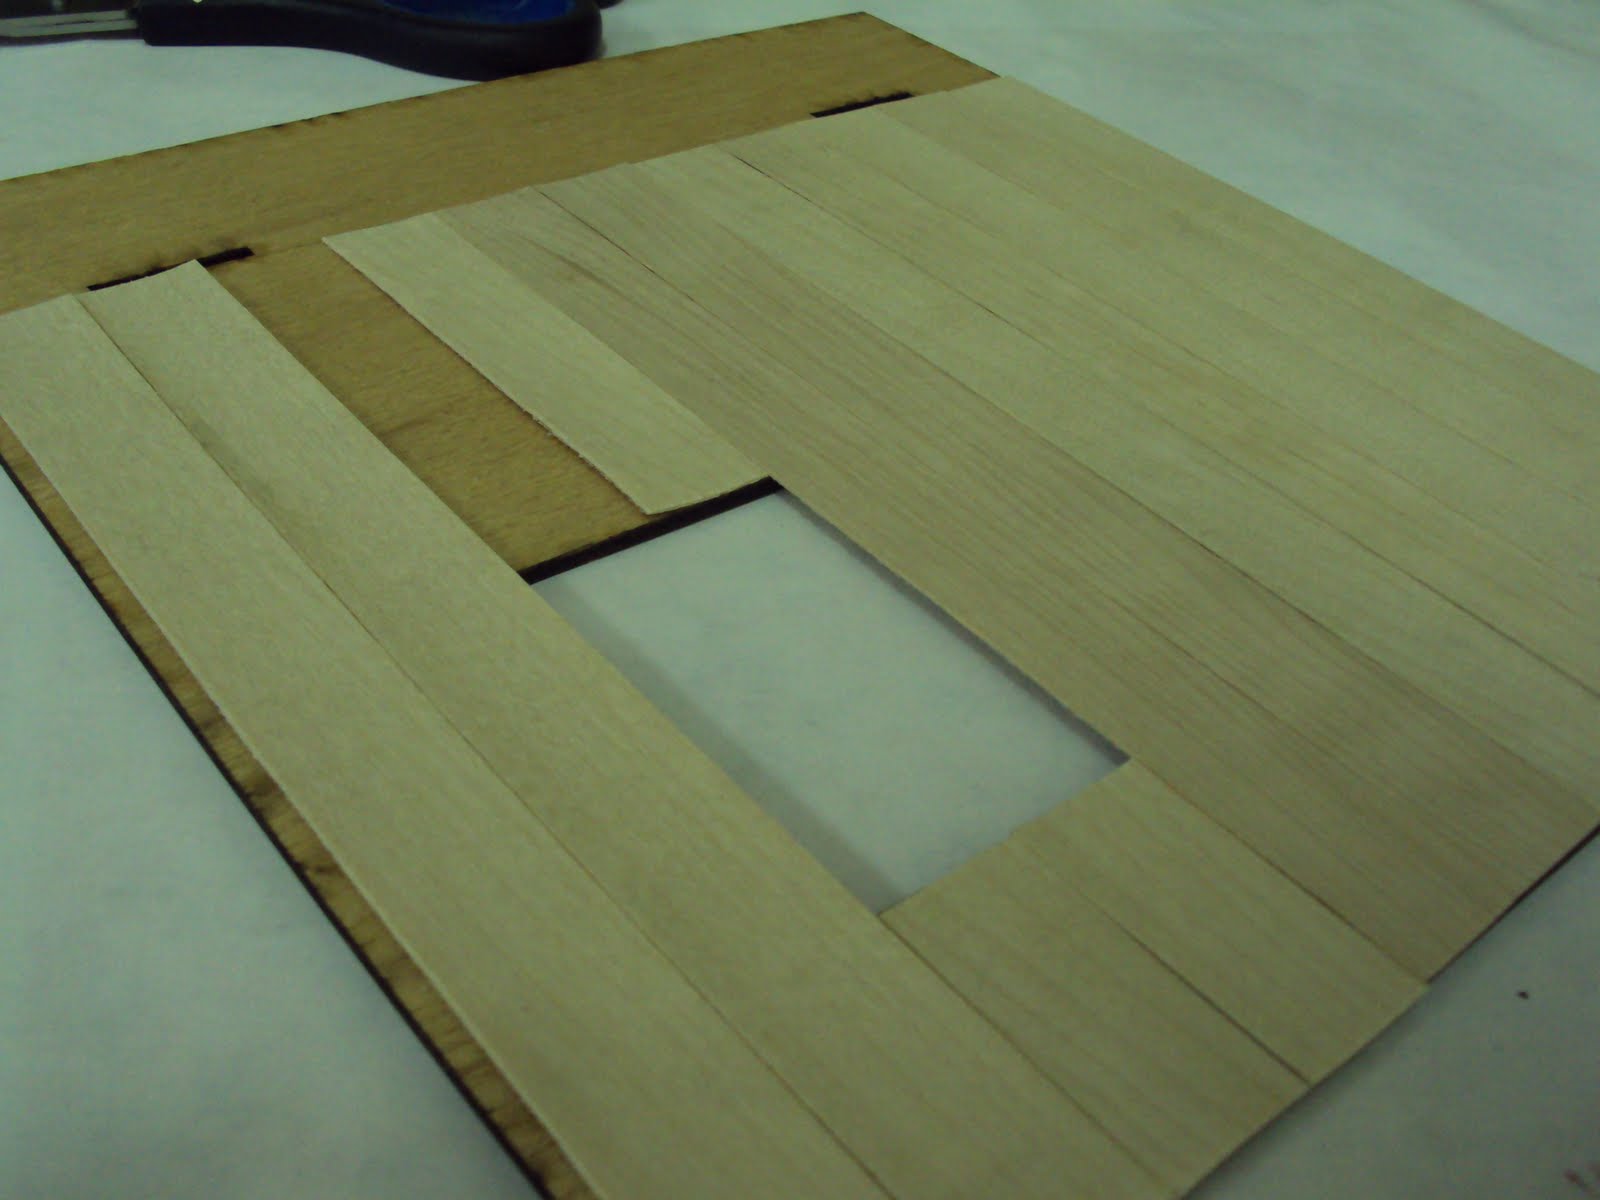 Because it is real wood, it takes stain beautifully and has wonderful variations in the grain. The kind below is birch, but there are other woods usually available too like the heavily grained kind in the Orange Blossom's floor. Below is the same finished walls with just a natural stain to keep it light. Scroll back up through the pics in this posting or in my galleries and you can see all the variations.
 By the way, are you wondering how to fit an iron in the tiny rooms of a house that is already built? The easy answer is... don't. Cut mat board or card stock to the exact shape of your floor and iron to that. That's what I had to do in my Westville kitchen and living room to get in all the nooks and crannies. Happy ironing!!
.jpg)
.jpg)


